Friday, March 16, 2012

How to make a note book?

Assalamualaikum and hello readers.
Red Craft is going to show you how to make a very simple note book ever! Well, you just need a few sheets of plain, A4 paper and that's it!
Let's begin!

How to make a note book?


What you need:

1) 10 sheets of plain, A4 paper (the number of the paper needed is optional)
2) A pair of scissors
3) Ruler
4) Pencil
5) Decoration for the cover: Ribbons/Sticky notes/Buttons (Optional)

Steps in making a note book:

1) Fold each of your A4 paper into half. Crease well.


2) Now that we've 10 sheets of paper. Divide them into halves so we have two sets of paper with 5 sheets of paper each.

3) As you've folded them into half, insert each of the paper into one another. Repeat this step for the other set of the paper.

4) Now we're working on one set of paper. Put aside the other one.
Take your ruler and measure as shown. It can be more than 1 cm. :-). Repeat the step for the other side of the paper.


5) Open up the set of folded paper and cut the edge of the paper (follow the red line shown). Do the same for the other edge of the paper.


6) We're done with that set of paper. Now let's take another set of paper.
Take your ruler measure as shown. Do the same for the other edge of the paper.


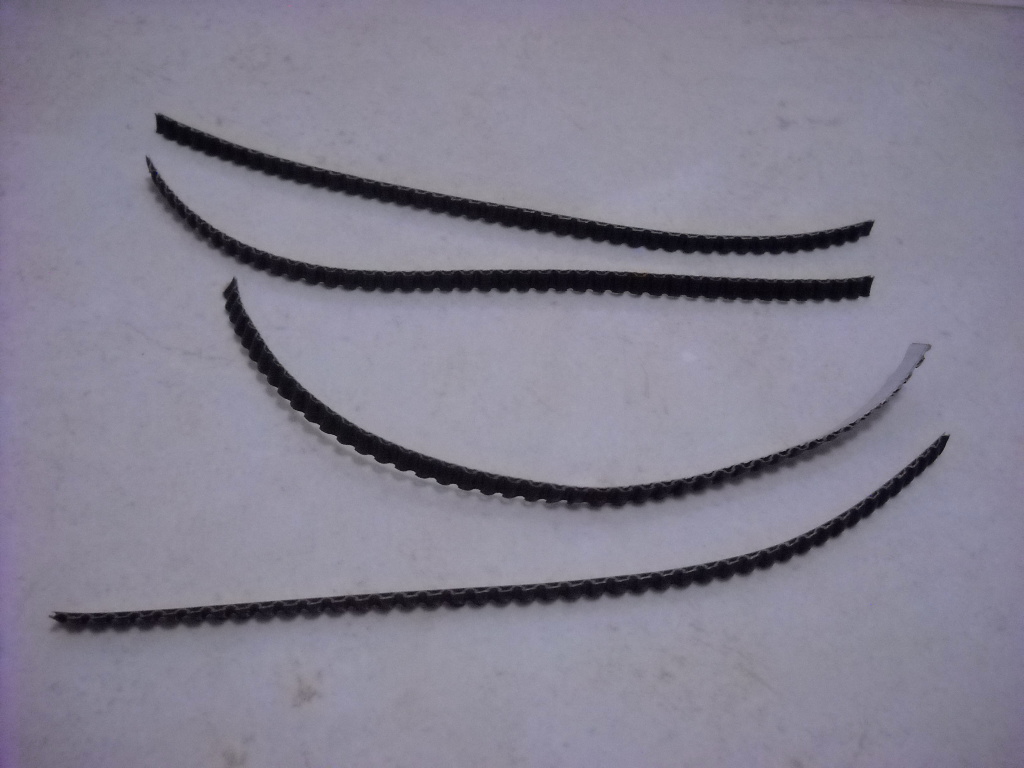
7) Using a pair of scissors, cut the set of paper as shown.


8) When you open up the folded paper, you'll get something that looks like this. It would be better if the hole has a smaller width.


9) Take the first set of paper and fold it horizontally. Do not crease the paper. Slowly insert the set of the folded paper into the hole that we made at the second set of paper.


10) Try to open up the set of paper that we fold earlier slowly so that it fits perfectly in the second set of paper.


11) We're done! Now you have your handmade note book!


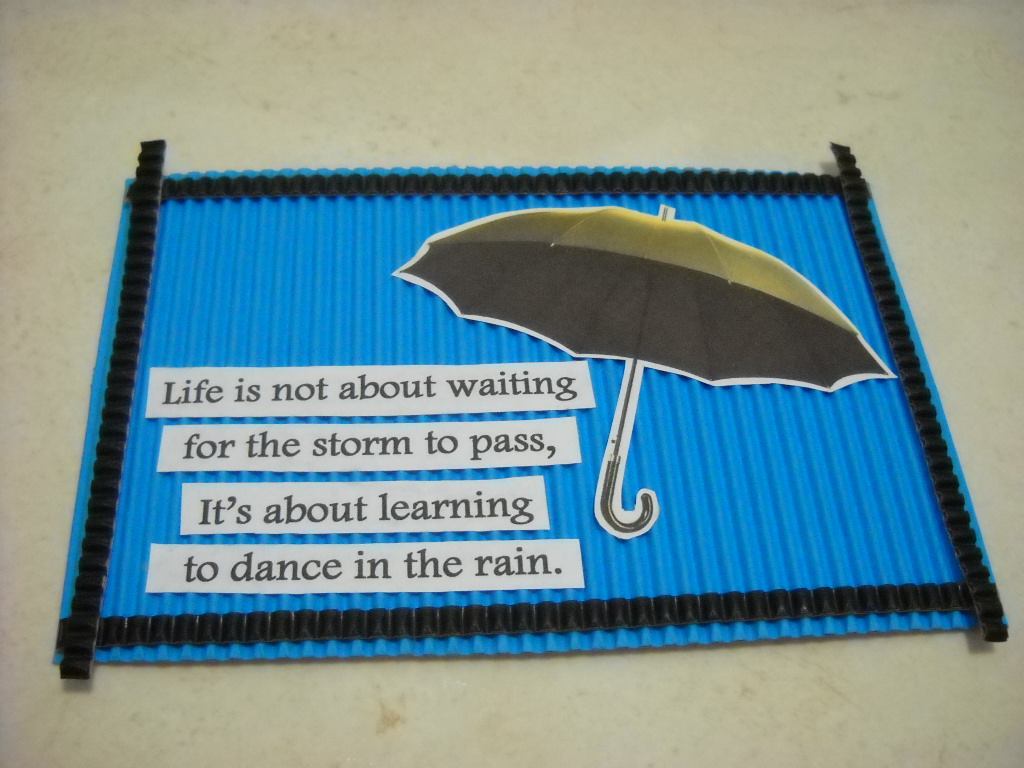
Don't forget to decorate the cover of your note book.:-)

Useful tips:

1) You might also love to use different colours of paper for your note book.
2) Smaller size of paper produces smaller size of a note book that can be slipped into your pocket easily.

Friday, February 24, 2012

How to make a 'Let's Get Inspired' board?

Assalamualaikum and hi readers. I created this craft about 30 minutes ago. So, I'm going to show you how to make this simple board using corrugated cardboards again. Enjoy!

How to make a 'Let's Get Inspired' board?


What you need:

1) Corrugated cardboards (you should have at least two different colours of cardboards)
2) Adhesive/Glue
3) A pair of scissors
4) Ruler
5) Pencil

For the design, you need:

1) Any picture/photo which you can relate to your selected quote. (You may draw it or simply get a picture from the Internet)
2) Your favourite quote (printed on a plain, white paper/coloured paper)

Steps in making a 'Let's Get Inspired' board:

1) Cut your corrugated cardboard into a 10x15 cm rectangle.


2) To make the border of the cardboard, you should have 4 small strips of black-coloured corrugated cardboard that look like these.


3) Now, paste the strips horizontally followed by other two strips vertically.


4) I chose a picture of an umbrella to be related to my quote. Feel free to choose any picture that you like. You might also like to paste your own picture.


5)Adjust the position of the picture so that your quote can be pasted perfectly next to it. You can use your creativity to determine the position of your picture as well as your favourite quote.


We're done! Hope you like it!


Useful tips:

1) The quote that I used was in Footlight MT Light (bold), font 20.
2) You can simply use any size of the board for your craft.
3) You can also make an envelope that can fit the board. This 'Let's Get Inspired' board is also a great gift to be given to a friend.

Wednesday, February 22, 2012

How to make a simple bookmark?

Assalamualaikum and hello everyone. It's been a while since a new craft is posted here. So today, Red Craft is going to show you how to make a very simple yet creative bookmark. You can use it for yourselves or even make it as a gift. Hope you like it!

How to make a simple bookmark:


What you need:

1) 2 corrugated cardboards (thin)-Black and any colour


2) Silver-coloured paper/chocolate wrapper/aluminium foil
3) Brown-coloured paper/beige-coloured paper
4) A pair of scissors
5) Adhesive/glue
6) Pencil
7) Ruler

Steps in making a bookmark

1) Take any colour of the cardboards and measure it as shown below. ( I'm using the black cardboard as the base)


2) Turn the cardboard to the other side (the white side) and draw the lines as shown using a pencil (at the edge of the cardboard).


Cut the slanted lines so that you'll get something that looks like this.


3) Take another cardboard and cut it as shown.


4) Using an adhesive, stick the smaller cardboard (red) on the black cardboard as shown.


5) Now, cut the silver-coloured paper/chocolate wrapper/aluminium foil into a small strip as shown so that it can fit perfectly beside the red cardboard.


Apply some glue on it and place it beside the red cardboard.


6) We're almost done. Complete your bookmark by cutting the brown-coloured paper into something like this. Also, cut the black cardboard into a very small triangle to be placed at the tip of the pencil (bookmark, I mean). Stick them well.


Yes, we're done! There you go, a bookmark!


I'M JUST KIDDING. There you have it, a bookmark!


Useful tips:

1) Besides using corrugated cardboards, you might also like to use other types of paper as long as they are suitable to be made into a bookmark.
2) You might also love to use some glitter, stickers and others to decorate it.
3) You can also write your name or your friend's name on the bookmark.
4) It's also nice to punch a small hole at the edge of the bookmark and tie a small ribbon to it.
5) You could also use many colours of your cardboards to make your bookmark more attractive.


5) Here are other bookmarks that I make.

Tuesday, January 3, 2012

How to make Box of Life: Classroom

Assalamualaikum and hello everyone!
I created this craft a few weeks ago. With this kind of craft, you can make it with any theme that you like but today, Red Craft is going to show you how to make basic Box of Life with the first theme that is CLASSROOM!

What you need:
Basic Box of Life
1) A black, A4 paper
2) A piece of blue-coloured paper ( or any other colour)
3) Glue
4) A pair of scissors / Paper cutter
5) Pencil
6) Ruler
7) Eraser

Decoration for the classroom
I drew a set of table and chair using Paint in my computer. I copied the picture and pasted it in Microsoft Word. Then, I printed it.


Steps in making Box of Life: Classroom :


1) Take your A4, black-coloured paper and measure 12x23 cm rectangle on the paper.
Cut the paper.


2) Fold the paper so that it looks like a box as shown. You can choose your own length and width of the box. Crease well.


3) Open up the box and lay it flat. Take your ruler and measure 6cm height as shown.


4)Fold the box again and draw a vertical line that divides the area above the line made earlier equally.


5) Draw two lines that meet each other at the vertical line. Now, it looks like a triangle. We are actually making the roof of the class.


6) Open up the box. Cut the paper according to the lines made. (cut the white line)


7) Now, we get something that looks like this. Erase the lines that you have made earlier. Draw a small rectangle under the triangle (roof).


8) Cut the rectangle drawn.


9) Apply some glue at end of the paper and fold it into a box again. Press the glued area firmly.


Now you get a box with a roof!


10) Use your coloured paper to decorate your classroom.


11) Now, take your ruler and measure the length of X as shown.


12) Add 2cm to the length measured. Let the new length be Ycm. Take your remaining black-coloured paper and measure Yx10cm. Cut the paper. Notice that 1cm length at the right and left edges of the paper are folded. You'll get two flaps at the edge of the paper.


Notice that the paper can be placed in the box nicely.


13) Cut the black paper into 1.5cm strips.


14) Now, you can use these strips as the lanes in the box. I cut the pictures of the tables and chairs and pasted them on the strips. You can draw your own tables and chairs using Paint or you can just draw them by hand. You'll get something like this!


15) As my box was quite small, I used three strips only. You can use more if you want. Apply some glue at both of the flaps and place them in the box. I placed the strips in an acsending pattern.


There you have it, a classroom!


Useful tips:
1) You can use your own creativity to make nicer chairs and tables.
2) You might also want to add other items to your classroom such as blackboard, cupboard or even a door.

Today's tutorial might be quite confusing. Feel free to ask me anything. :->